WordPress is one of the best and powerful CMS out there, combine WordPress with BuddyPress, you get your own community website. Social elements in BuddyPress are good and also gives us full control over every element. BuddyPress comes from the same family of WordPress. When we planned to make our school’s alumni association website we contacted a couple of developers and was shocked by their pricing. We didn’t have a large budget for this. Later I came across BuddyPress and was surprised to see its potential and the great part was it’s free. Everyone loves free stuff.
In this article I will show you how to install BuddyPress and set up an alumni site. I am assuming that you have a server and you have installed WordPress. This article will start from installing BuddyPress, so if you don’t have a WordPress installed server, head over to BitNami. They will help you set up a server on your computer locally. Will explain about that in another article.
Let’s Begin.
1. Installing BuddyPress
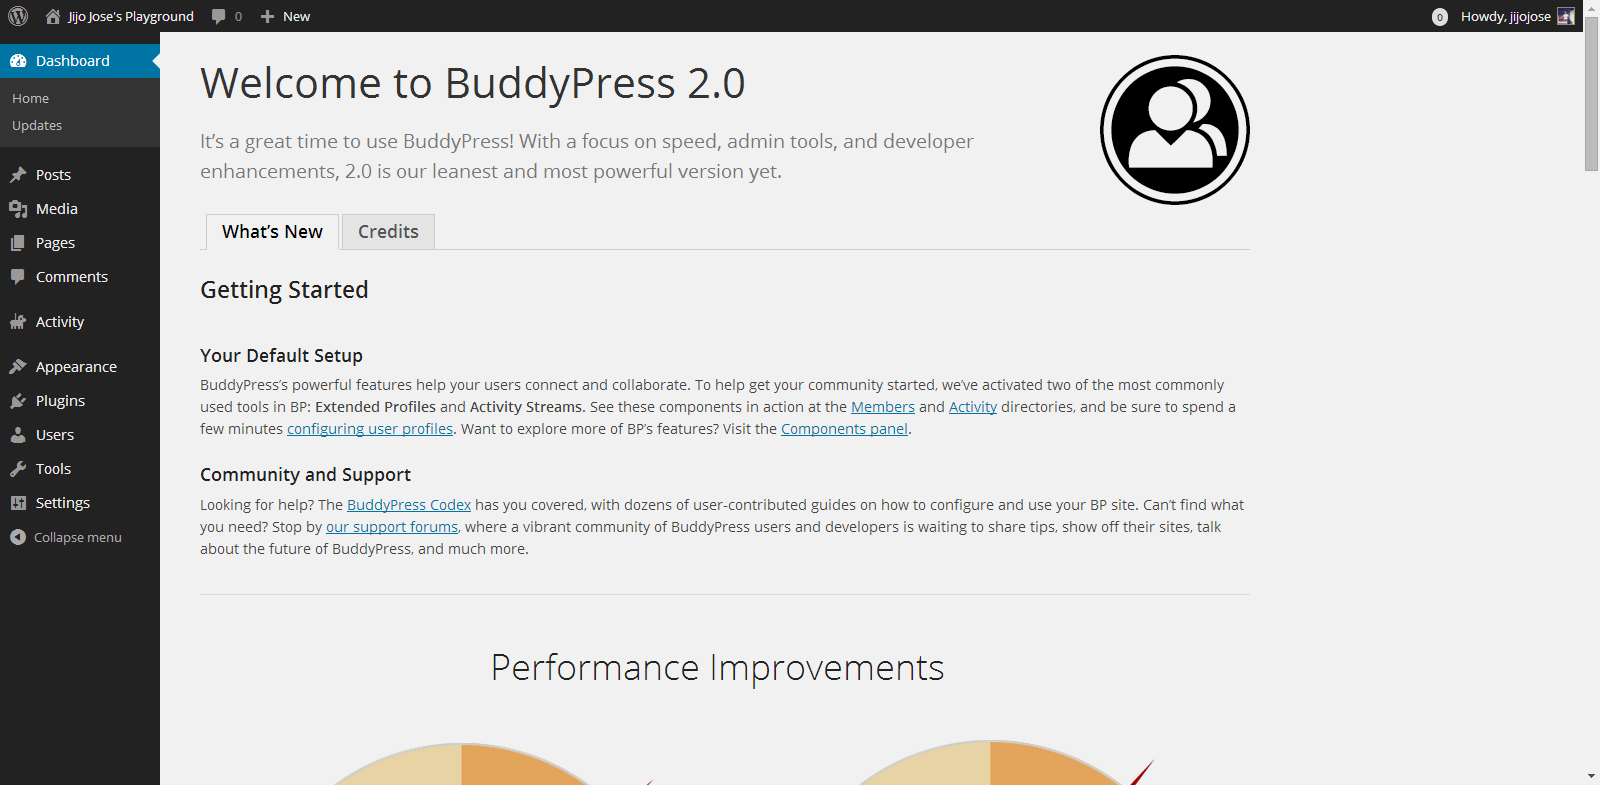
You can download BuddyPress from WordPress Plugin repository or from the BuddyPress official website. Or directly download it to your WordPress installation by going to plugins from your website back-end. (Plugins>Install Plugins). Activate the plugin. Once activated you will get the above screen.
2. Selecting the components

Go to Settings>BuddyPress
Choose what components you want to use in your BuddyPress installation. In other words what all services do you want to run on your alumni association website. Each component has a pretty neat description on the right side that will help you in selecting the components.
3. Creating Pages
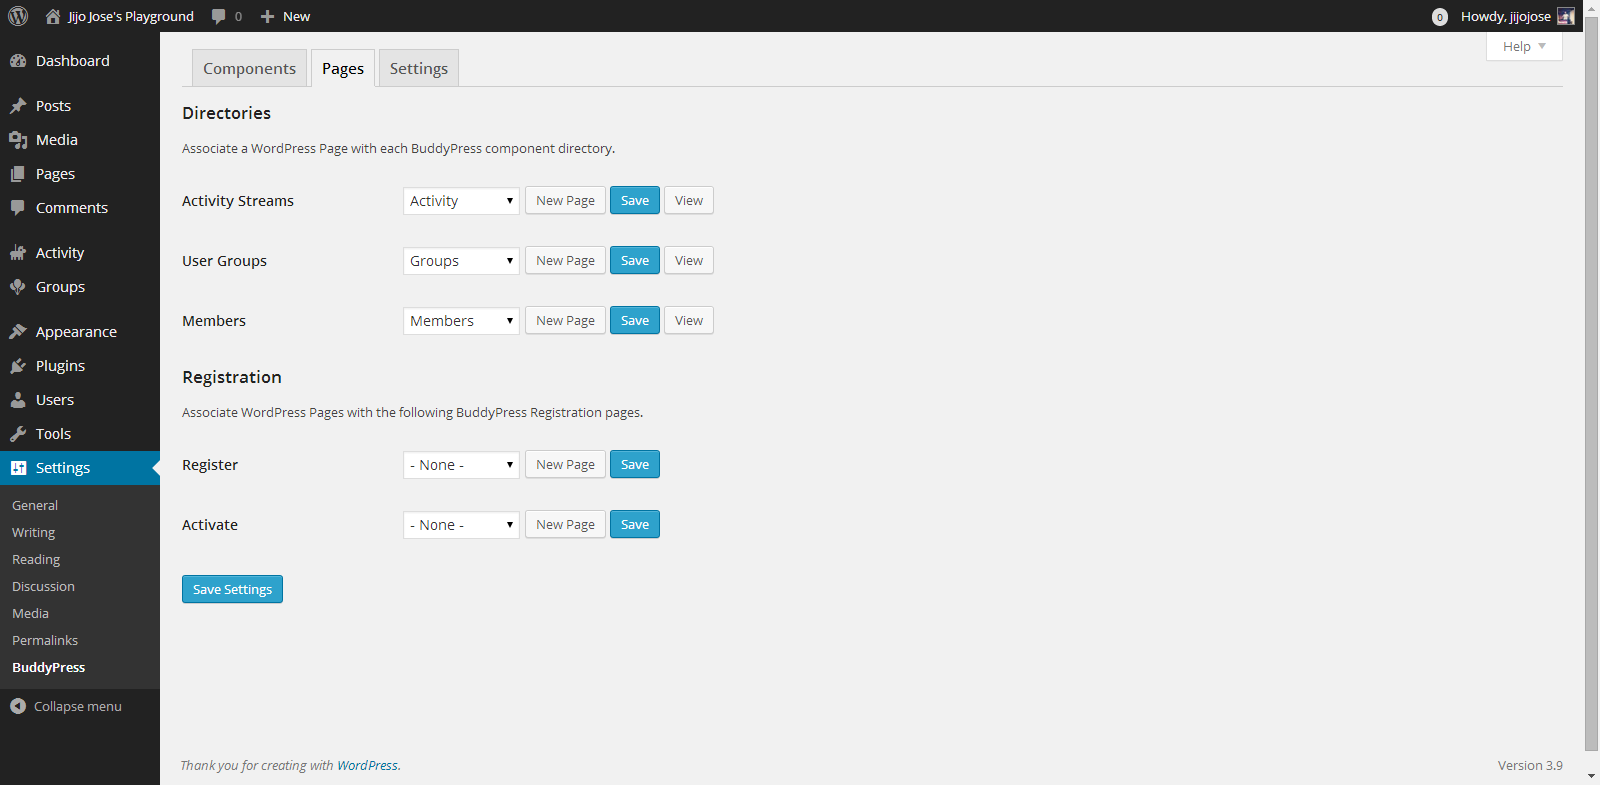
Go to Settings>BuddyPress>Pages
This is one of the important steps. In this page we will create and assign some important pages for activity streams, user groups, members page, registration and activation page. Upon activation BuddyPress will create activity streams, user groups and members page, now we will have to create and assign pages for registration and activation page.
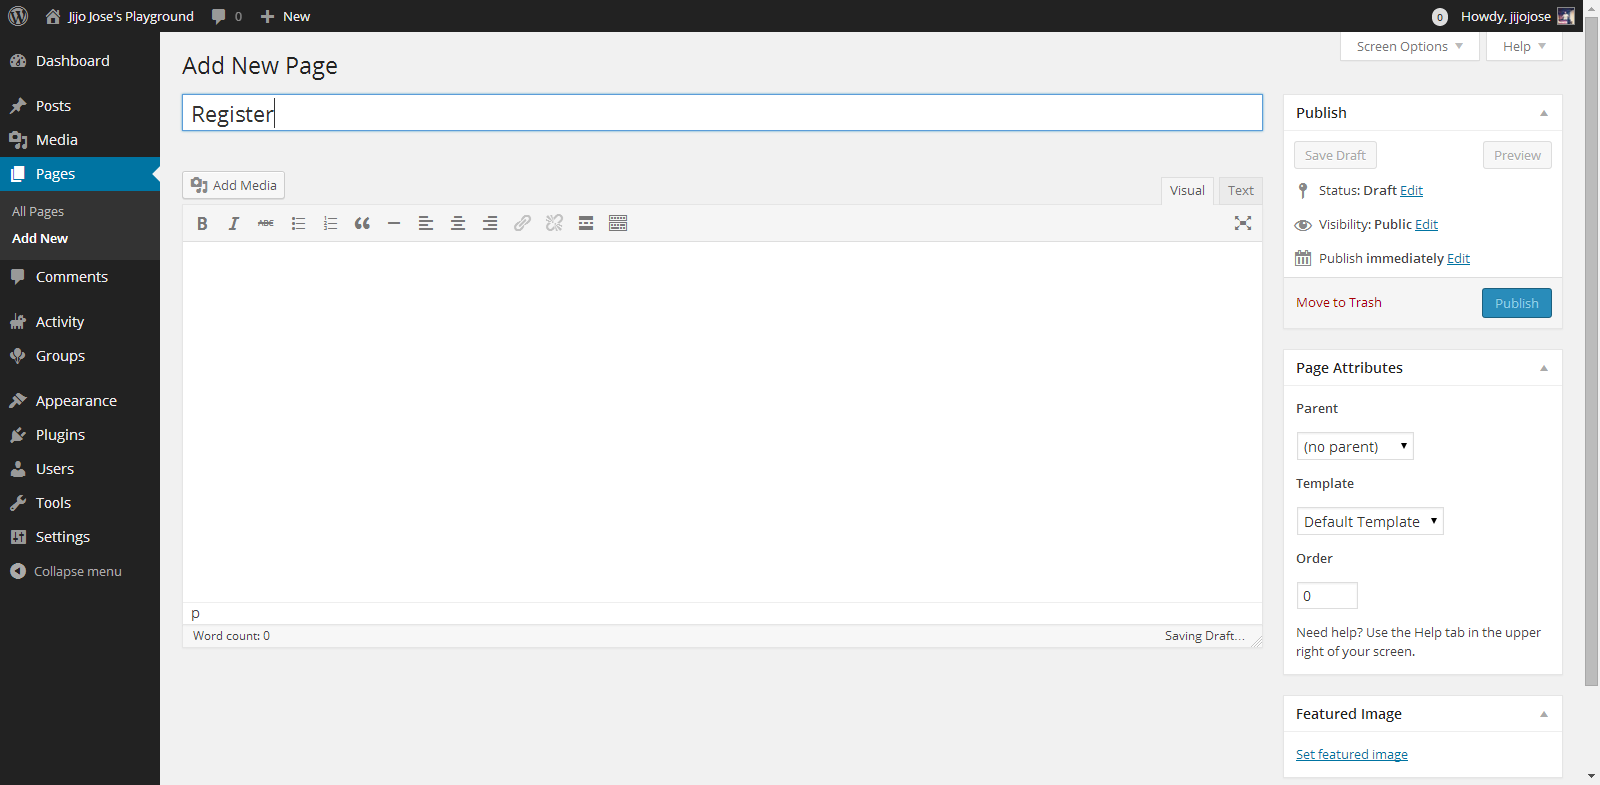
Click on New Page, you will be taken to “Add New Page“. Create 2 pages, one for Registration page and another for Activate page. Naming the page is up to you. Once you finish creating the pages go back to BuddyPress pages (Settings>BuddyPress>Pages).
Associate the correct pages for Registration and Activate page and click “Save Settings“.
Visit the newly created pages and check whether they are working as intended.
4. Final Tweaks/Settings
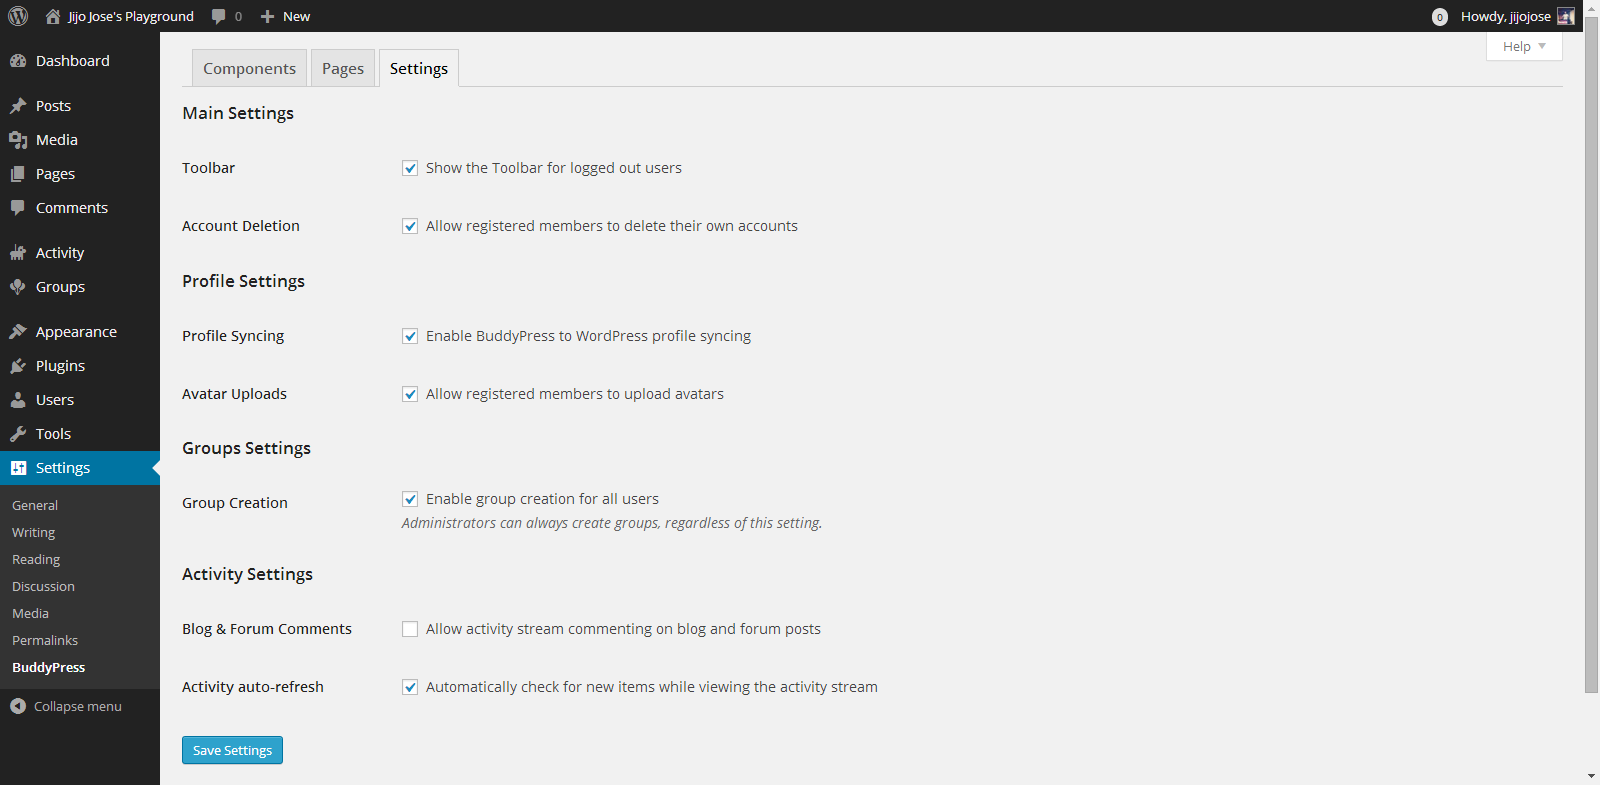
BuddyPress gives control over how users interact, what they can see and what they can create on the site.
Go to Settings>BuddyPress>Settings
Again the developers have done a good job of explaining each option properly.
Your alumni site is almost ready. An important thing we are missing now is a theme for your site. The default theme is not optimized for BuddyPress. Although everything looks clean if you check the site, but you are missing lots of features. An optimized theme will give your users a good experience.
5. Selecting a BuddyPress theme
You either can get a free BuddyPress compatible theme from the WordPress theme directory or Buy premium themes from any WordPress theme marketplace. I’ve tested some premium themes, you can read about some premium themes on this article.
For now let’s use some free themes from the WordPress themes directory. Head over to “Appearance > Themes“. Click on “Add New” and in the filter section, select “BuddyPress”, hit “Apply Filters“.

Select a theme you like and apply. You are all ready to go. Before releasing your site to the public ask some of your friends to register and explore the site. Get feedback from them and make tweaks accordingly. Also leave your site address in the comments, I will check out the site and will try to give some suggestions.
If you get stuck following these steps, let me know and I will personally help you clarify it.